Adding a Member Project Page with Divi
Here you will find the steps to create and protect a members project page ?
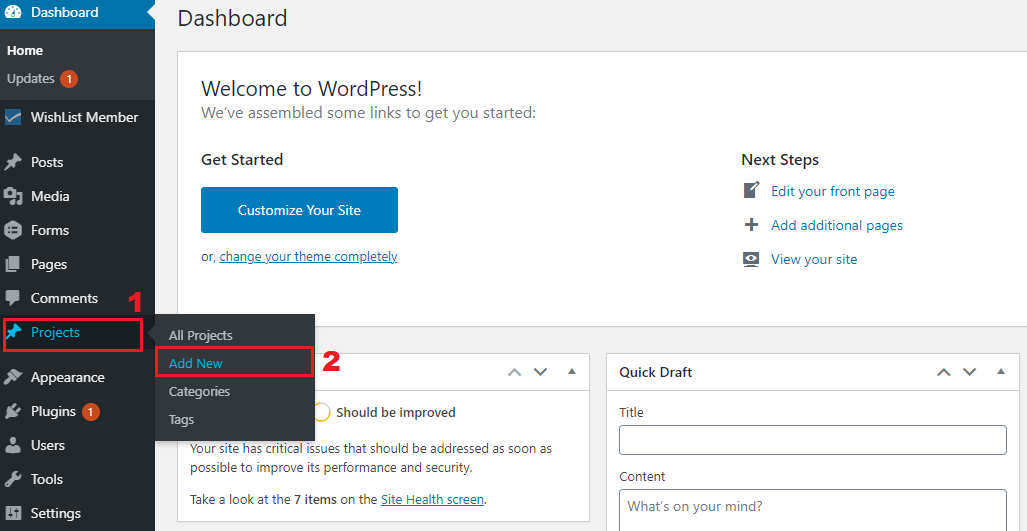
Screenshot #1
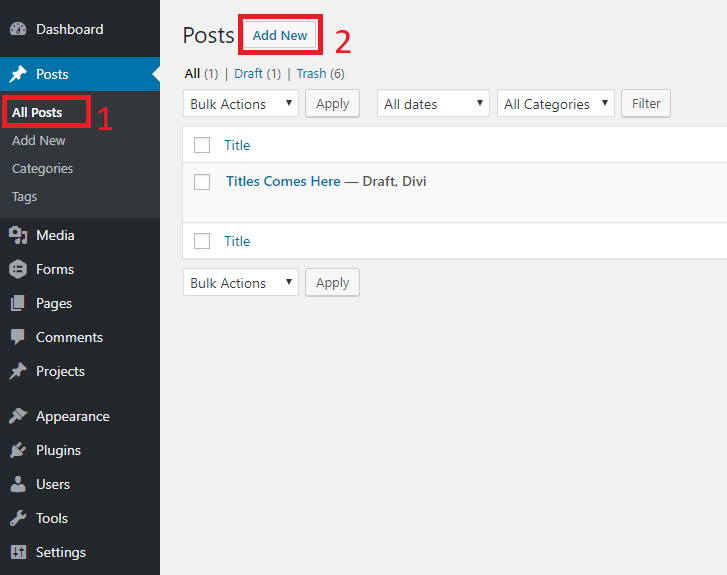
Once you access your WordPress admin panel, you will find in the left menu the tab “Projects” (Screenshot #1 Step 1) do hover with your mouse to display a secondary menu and click on “Add new” option (Screenshot #1 Step 2). This will bring you to the new project page.
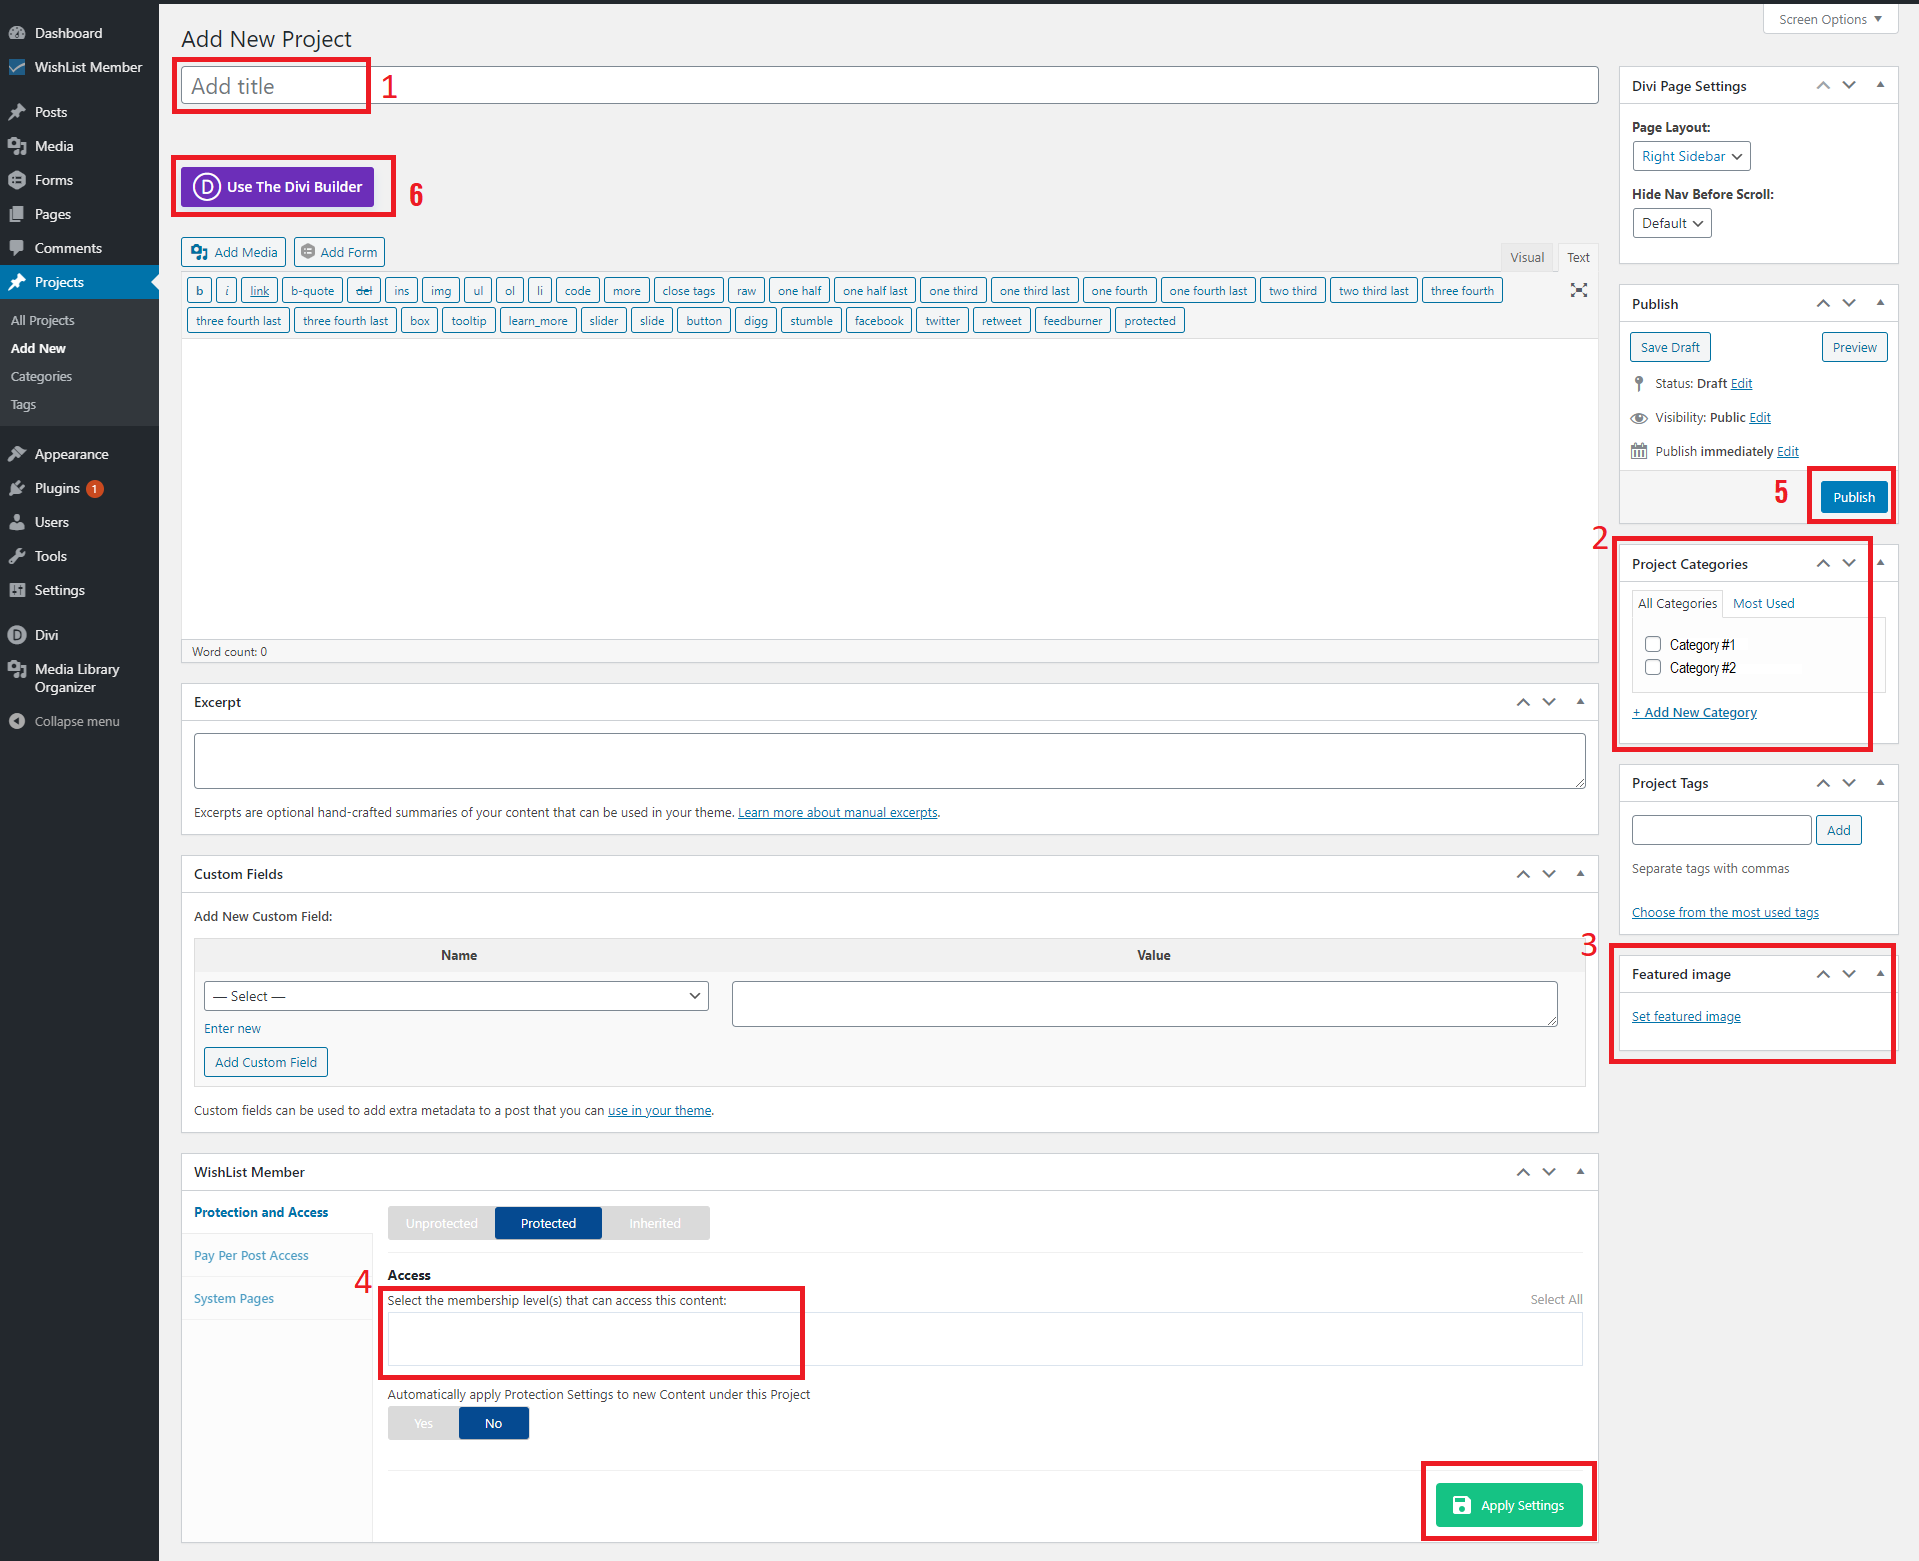
Screenshot #2
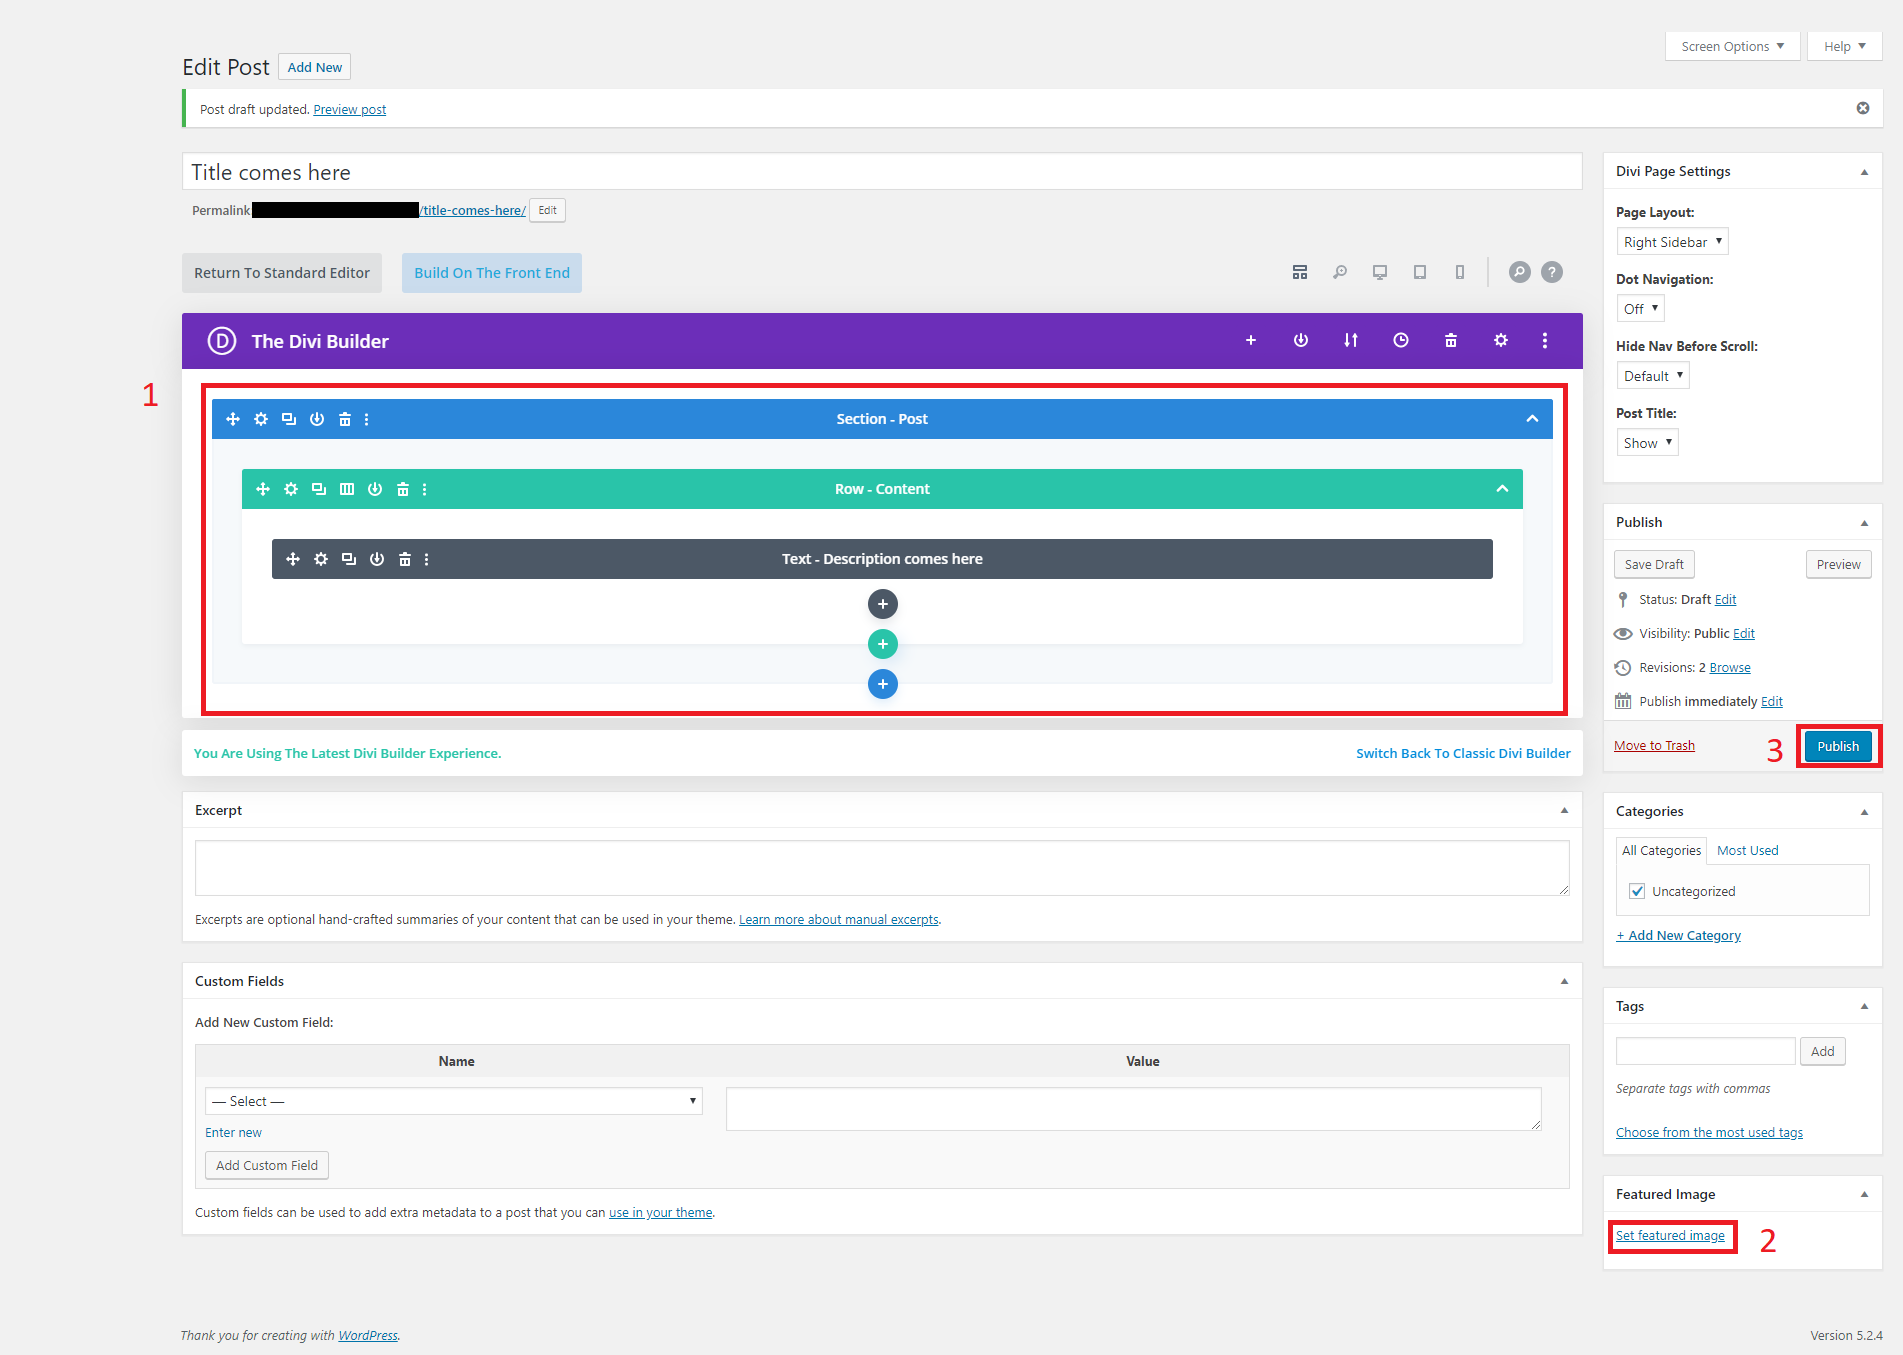
Once you are in the project page editor, it is very important you start the process by writing the title (Screenshot #2 Step 1), add the category or categories you want to set for this page (Screenshot #2 Step 2).
If you want to display any featured image for this page, click on the link “Set featured image” (Screenshot #2 Step 3) and the most important step before starting to build your page is to protect it.
To do so, scroll down to the Wishlist member click on the tab “Protected” and write level names you want to give access to this page (Screenshot #2 Step 4). When you have added all the levels you want, click on the green button “Save Setting”.
Once you have set up all the information, we recommend you Publish the page (Screenshot #2 Step 5) or save the draft before continuing with the construction of the page.
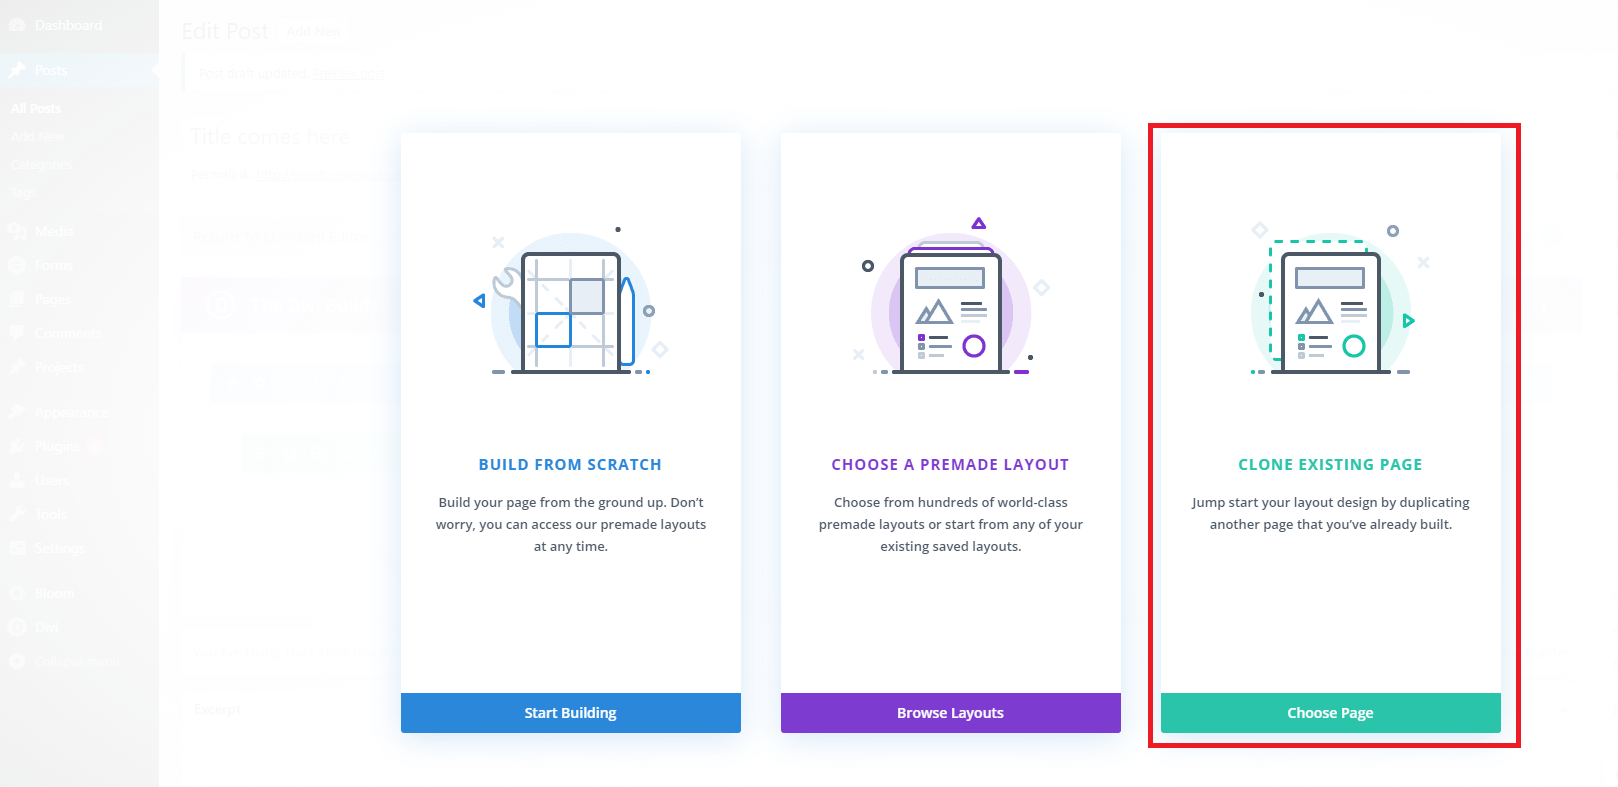
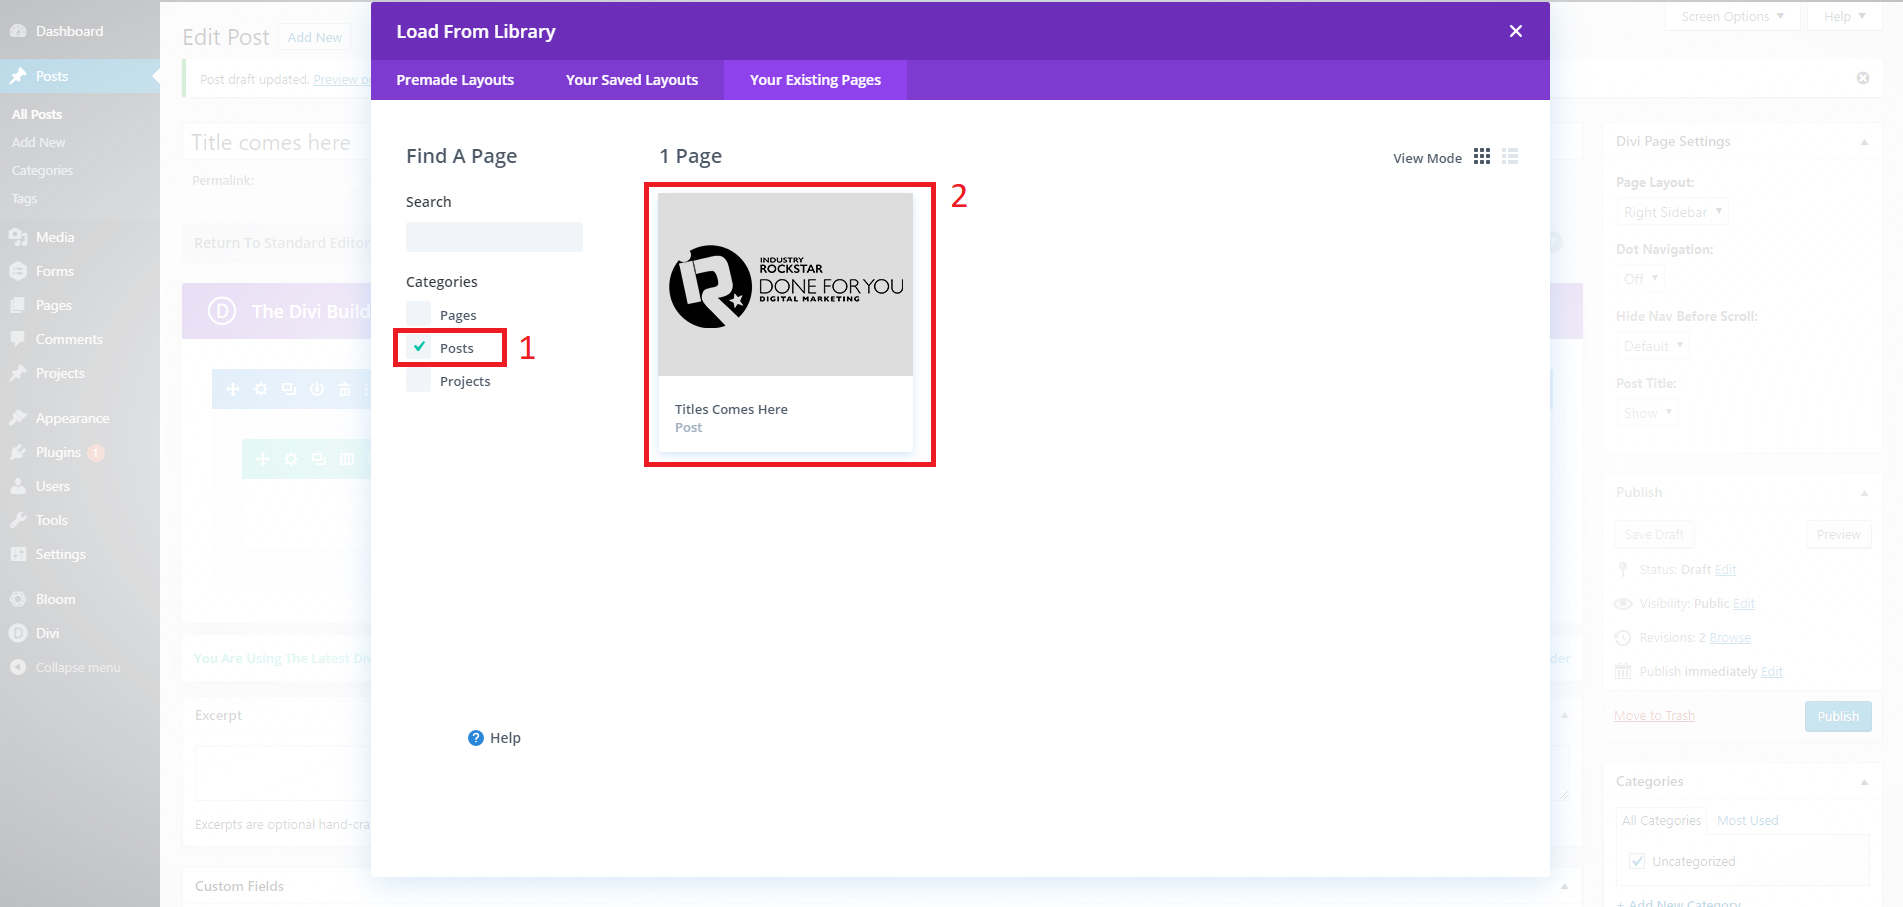
When you click on the button “Use The Divi Builder” (Screenshot #2 Step 6), it will open a pop-up window. Here, you can choose to start building from scratch or clone an existing page that we have built for you. To clone a page, click on the third column (Screenshot #3) to display all your website pages, projects and post.
Choose the page that suits the best for and start making the editions you need! ?
Screenshot #3
To learn more about Divi click here
Regards from Industry Rockstar Done for You Team ?

